Enrollment Keys — List
Last updated on: 2026-05-25 | Updated by: MAGNI Docs Team
The Enrollment Keys page allows administrators to manage and distribute registration codes (enrollment keys) used by learners to sign up for the Magni platform. These keys can automatically assign users to specific departments and control registration limits through seat caps and expiration dates. This page is primarily used by Administrators and System Administrators to monitor key usage and generate new access points.
👤 Visible to: Administrators and System Administrators with appropriate key management permissions.
Page Sections
Header and Search Controls
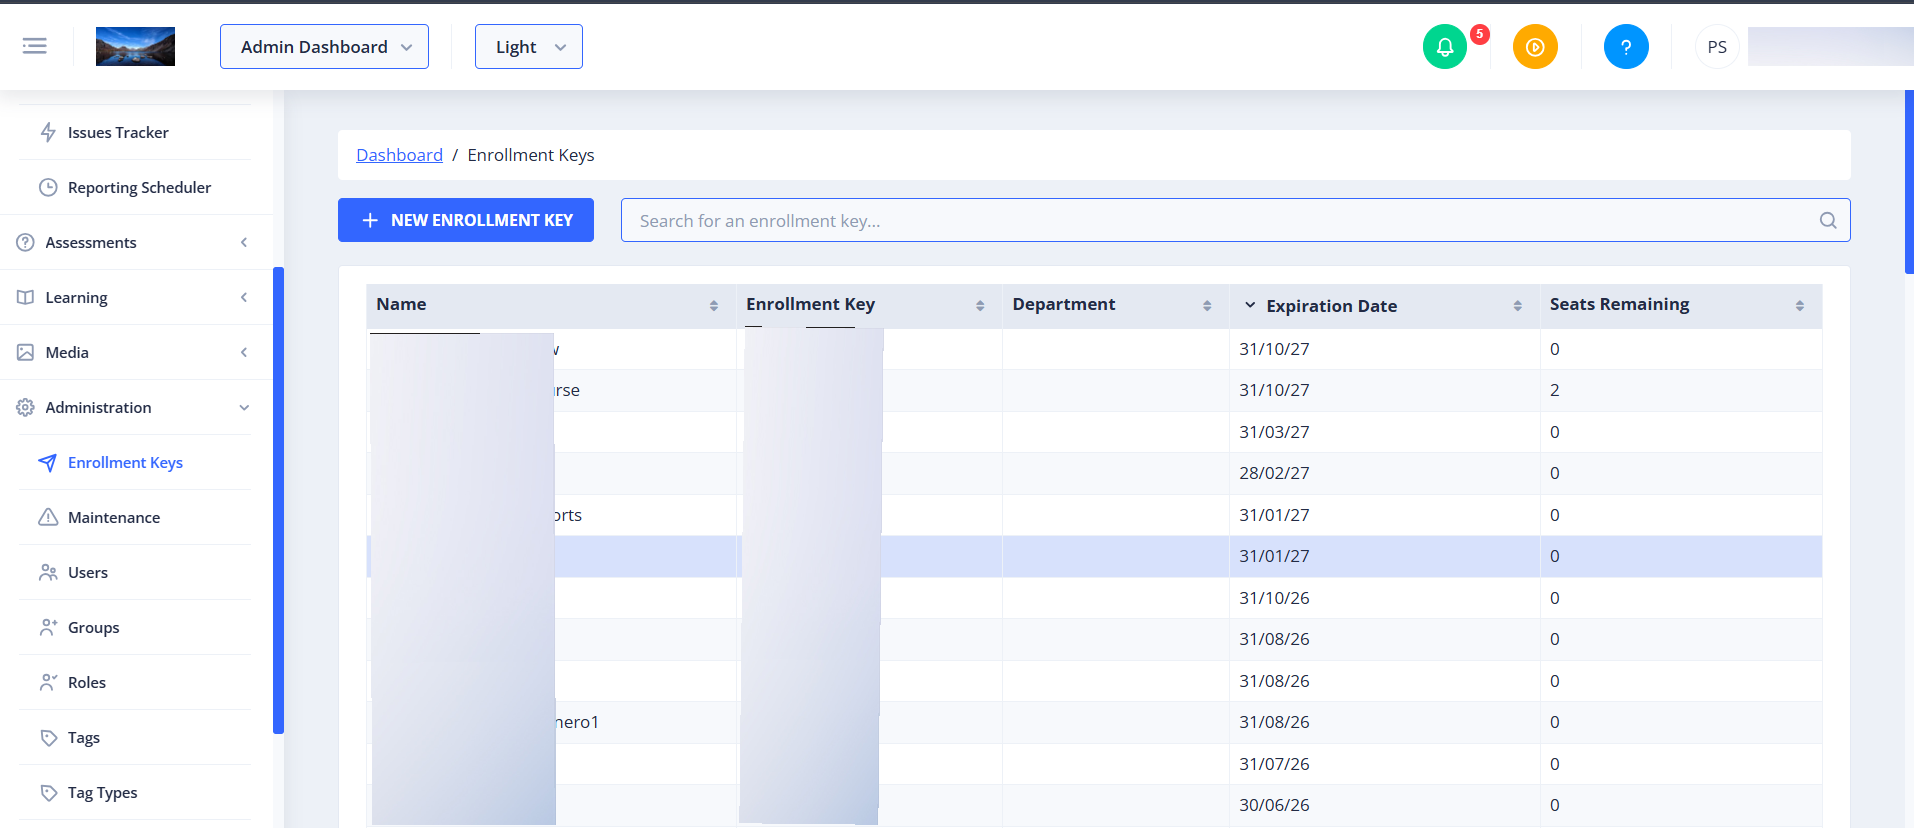
The top section of the page contains navigation breadcrumbs, the button to create new keys, and a search utility to quickly find specific keys.
-
New Enrollment Key Button:
⚠️ This button is only visible to users with permission to create enrollment keys.
Clicking this button opens the creation form to generate a new key.
-
Search Bar: Allows you to filter the list of enrollment keys by typing a search term (such as a key name or token) and pressing Enter.

Enrollment Keys Table
The main table displays all existing enrollment keys. You can click on any row in this table to view or edit the details of that specific key.
- Name: The descriptive name assigned to the enrollment key (e.g., "Customer Admin" or "BM QA Supervisor").
- Enrollment Key: The unique alphanumeric code/token that users enter during registration.
- Department: The department to which users will be automatically assigned when they register using this key. If no department is assigned, this field remains blank.
- Expiration Date: The date after which the enrollment key will no longer be valid.
- Seats Remaining: The number of registrations still available for this key. A value of 0 indicates that the key has reached its limit and can no longer be used for new registrations.
Pagination
Located at the bottom of the page, this control allows you to navigate through multiple pages of enrollment keys and adjust the number of keys displayed per page.
Common Actions
| Action | How to do it |
|---|---|
| Create a new enrollment key | Click the New Enrollment Key button at the top left of the page. |
| Search for an enrollment key | Type your search query into the search bar and press Enter. |
| Sort the list | Click on any column header (Name, Enrollment Key, Department, Expiration Date, or Seats Remaining) to sort the list. Click the column header again to toggle between ascending and descending order. |
| View or edit key details | Click anywhere on the row of the enrollment key you wish to view or modify. |
| Navigate pages | Use the pagination controls at the bottom of the page to move between pages or change the number of items displayed per page. |
Tips
- Monitor Seats Remaining: Regularly check the "Seats Remaining" column to ensure active registration keys do not unexpectedly run out of slots for incoming learners.
- Use Clear Naming Conventions: Give your enrollment keys descriptive names that reference the target department, role, or cohort to make managing them in the list much easier.
- Track Expiration Dates: Sort the table by the "Expiration Date" column to quickly identify keys that are nearing their expiration or have already expired, helping you manage active registration windows effectively.